Serials Claiming
Claiming is the term used for letting a publisher or vendor know that an expected issue did not arrive. Often compensation can be made or the subscription extended to cover missing issues. While not many public libraries do this, it is important for you to know which issues are missing and to run the claiming function to keep your records clean and up-to-date. During Claiming there are other problems that come to light that can be fixed during this process.
When an issue doesn’t arrive by the Expected date, the box displays Late. When the number of days designated in the Days before claim box on the card passes without the issue being checked in, that issue becomes eligible for claiming. You should run Claiming at least once a quarter. If you do submit claims to a vendor, be sure to know what their policies are; some only allow claims to be made within a certain number of days. That number will tell you how often you need to run claiming.
Claiming
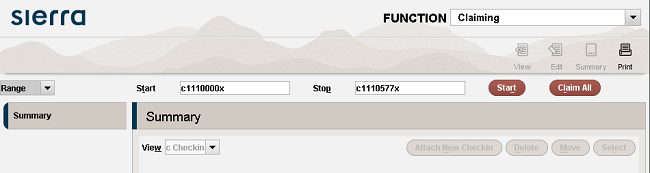
Change function to Claiming.
Leave the search criteria at Range, and leave the start and stop records numbers where they are. Click Start. The system will search all your checkin cards for late issues.
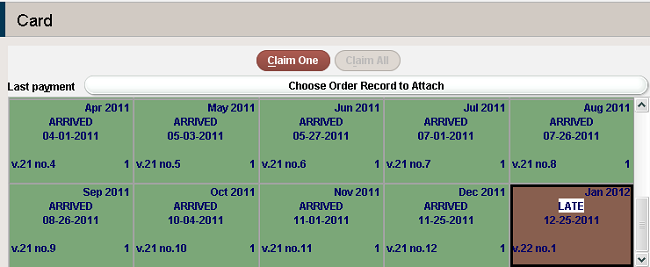
The system will stop at each card where there is a late issue that has passed the “number of days before claim” specified on the card. The box/es for the issue/s ready to claim will be highlighted. Look at each highlighted box to determined if this issue really does need to be claimed, or if there is some other problem with it.
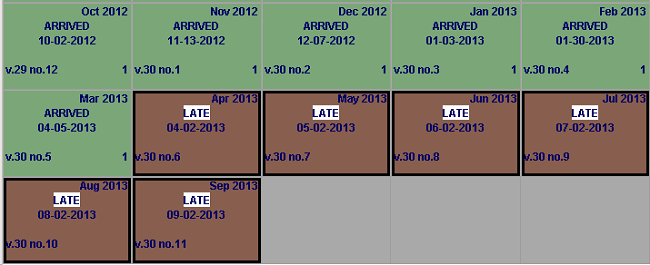
In this first example, the Jan 2013 issue never arrived. By looking back at the publication sequence of the prior year, we can see that the December and January issues are combined into one, so this issue doesn’t really exist. This box should be deleted, and the December 2012 box modified to reflect the combined issue.
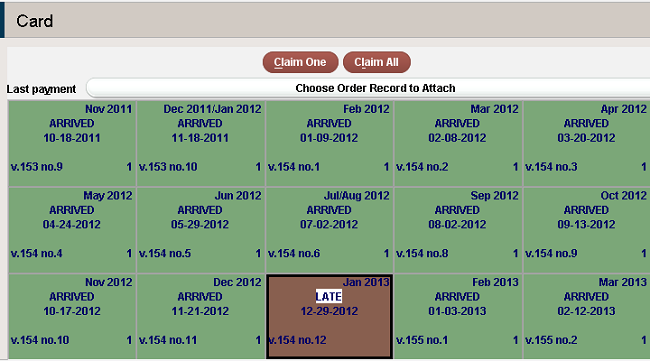
The issue numbers are also off, so those need to be corrected using Update boxes as a group. (See how on this page.) After editing, the boxes now reflect the correct dates and numbering.
When you are done, click Save. If you forget, when you click Next you will be told that the record has changed; do you want to save changes? Say yes, and the system will search for the next record with an issue to claim.
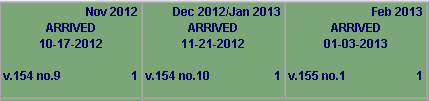
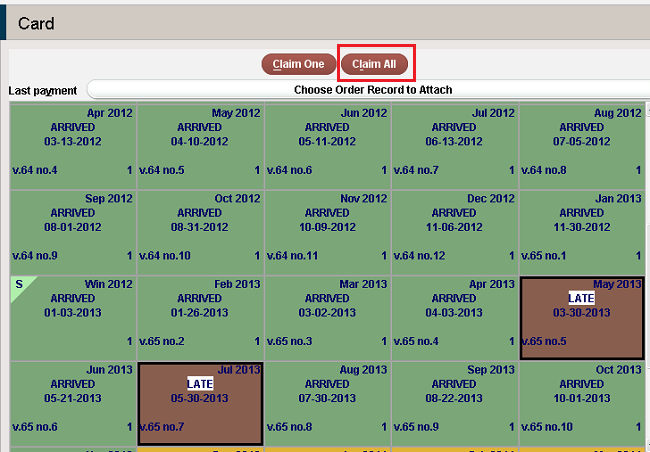
In this next example, both the May and July 2013 issues are late. Looking back we can see there were those issues in 2012, so it looks like these issues are real claims. If there is more than one issue to claim, the Claim All button is active (providing you chose that option when doing setup). Check the record by scrolling up and down to make sure only those boxes with issues to claim are highlighted; then click Claim All. NOTE: If there are other late issues that you do not wish to claim, click on them so they are no longer highlighted. Doing this will deactivate the Claim All button and you will have to go back and Claim One for each box you do want to claim.
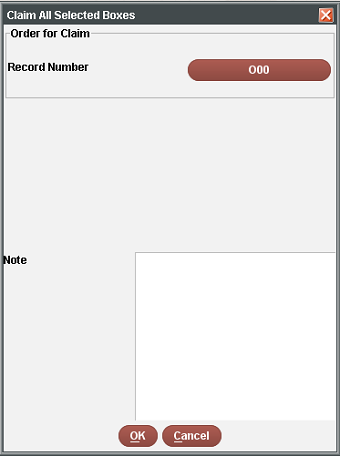
The Claim All window will open. If you wish to add a note about this claim, you can do so here. If you use Acquisitions and an order record is associated with this card, the order record number is in the button at the top and clicking on it will open that order record. Most of the time, you will just click OK.
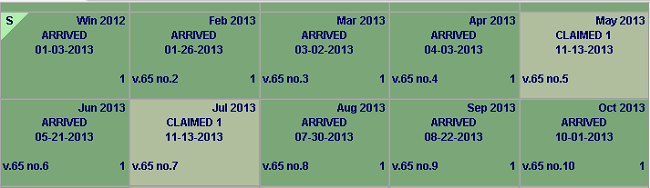
The issue boxes will chage color and are now labeled Claimed, with today’s date signifying the day it was claimed.
Click Save, then Next.
Here is a case where all the issues after March 2013 have not arrived, so it is likely the library is no longer subscribing to this magazine. If that is the case, delete all these boxes.
In this example, there is only one issue to claim, so the Claim All button is greyed out. Make sure only that box is highlighted, and click Claim One.
Click OK in the claim window, Save and click Next.
You do not need to claim late issues on a card if you have some reason not to. If you need to check something first, just click Next without doing anything. The late issues will still be there the next time you run Claiming.
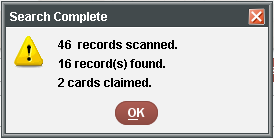
If you run out of time to finish, you can click Stop at any time. When you do, a box will pop-up telling you how many records were scanned (how many it looked at), the number of records found (with late issues eligible for claiming) and the number of cards with issues that were claimed. Click OK.
Send Claims
Once issues have been claimed they go to a processing file where they will sit until they are printed. Once printed, they are cleared from the file and the system. When you are done with the claiming process, you must Send Claims. Change function to Send Claims.

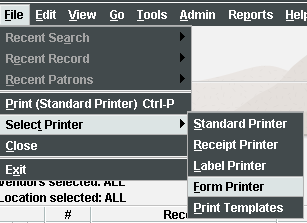
When printing claims, they are sent to the Form Printer. Most often you will want to print claims to your email where you can either delete them, or decide to notify the publisher or vendor. To change the printer to email, go to File – Select Printer – Form Printer.
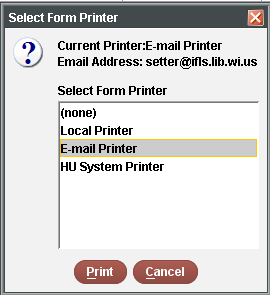
Choose Email Printer from the list that opens, then enter your email address and click OK.
If you prefer to have these printed to paper, choose the printer you want them to go to.
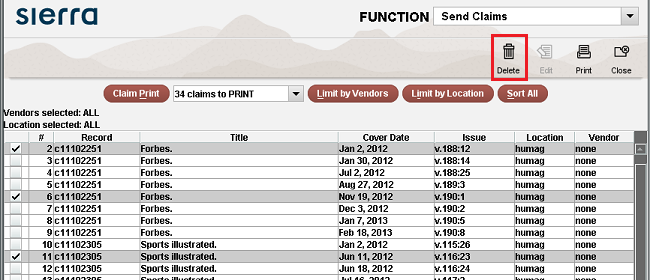
On the Send Claims screen all the issues that have been claimed are listed.
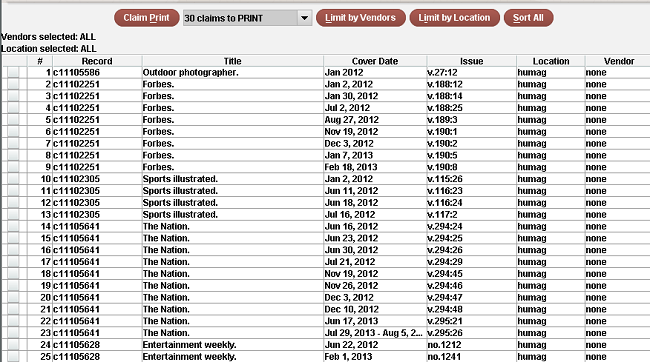
If you have more than one vendor, you can click the Limit by Vendors button and input one vendor; click OK and only the claims for that vendor will be in the list. Once those are printed, you can go back and limit by another vendor, print those, and so on until all claims have been printed.
Limit by Location does the same thing for location codes in case you want to print claims for adult and juvenile magazines separately.
The claims are listed in the order they were claimed, by checkin record number. If you wish to sort them another way click Sort All and input the fields you want to sort by; this works the same way as sorting a Create List.
You can delete some of the claims before printing. To do that, check the box in front of the issues you want to delete, and click the delete icon.
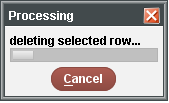
You will see a Processing window. You can cancel the deletion if you are fast enough clicking the Cancel button. When the processing is finished this window will close and those selected claims will be gone from the list. You number of Claims to Print will go down accordingly.
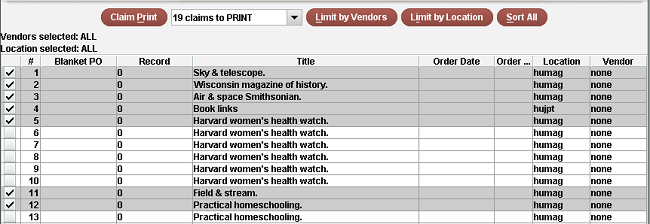
You have the option to print only certain claims. This is useful if you want to actually print certain claims to paper and print the rest to email.
To print selected claims, check the box in front of the issues you want to print.
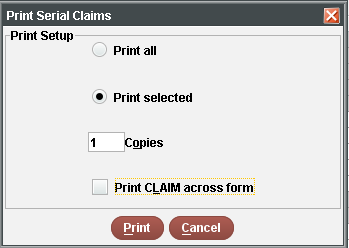
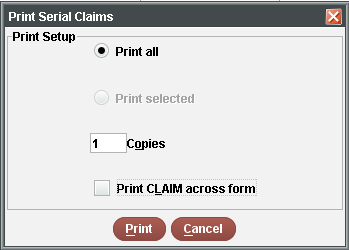
Click the Claim Print button. The Print Serial Serial Claims window will open. Change the selection from Print all to Print selected. You can change the number of copies if desired. If you want the word CLAIM printed across the paper, leave the checkbox marked; otherwise uncheck the box. Click Print.
The Select Form Printer window will open. If you want these to go to paper, change the printer to the physical printer you want to use. Click Print.
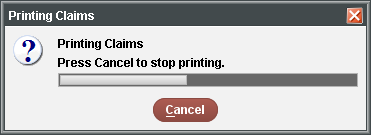
You will see the Printing Claims window and the progress of the print job:
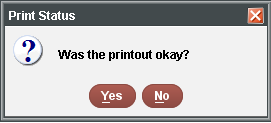
Whenn it is finished, you will see the Print Status window, asking if the printout is OK. Check the printout first, and if it is OK click Yes. Once you click yes the claims are cleared and they are gone.
If you printed selected, the remainder of the claims are waiting. Click Claim Print. In the Print Serial Claims window, select Print all, change number of copies if desired, and leave checked or uncheck the Print CLAIM box. Click Print.
The Select Form Printer window will open. If you want these to go to an email address, select email printer. Click Print.
In the next window, enter the email address you want the email to go to. Click Print.

You will see the processing window, then the Was the printout okay? window. Once the email arrives, click Yes.
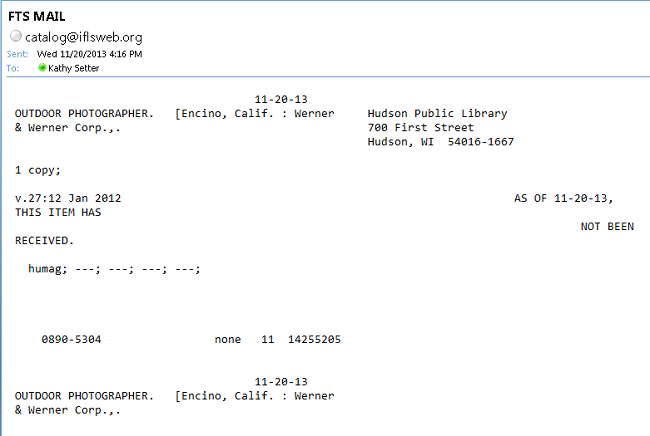
The claims have all been sent; your screen should be empty:

The email will come from catalog@iflsweb.org.