E-Resources
IFLS E-Resources Contact: Cecelia Cole (Resource Sharing & Collection Consultant)
You can also contact the IFLS Help Desk with any questions by clicking on the green HelpDesk button on our website, or emailing helpdesk@ifls.lib.wi.us.

Wisconsin Digital Library

Transparent Language online
BadgerLink

NoveList Plus

Ancestry Library Edition and HeritageQuest from Proquest
• ProQuest LibGuides educational resources for Ancestry®.
• ProQuest LibGuides educational resources for HeritageQuest®
• Genealogy Marketing Toolkit

CharityEZ
CharityEZ connects organizations to donors, foundations, and volunteers.The link is on the MORE Research page for in-library use only.
Overdrive & Libby Resources
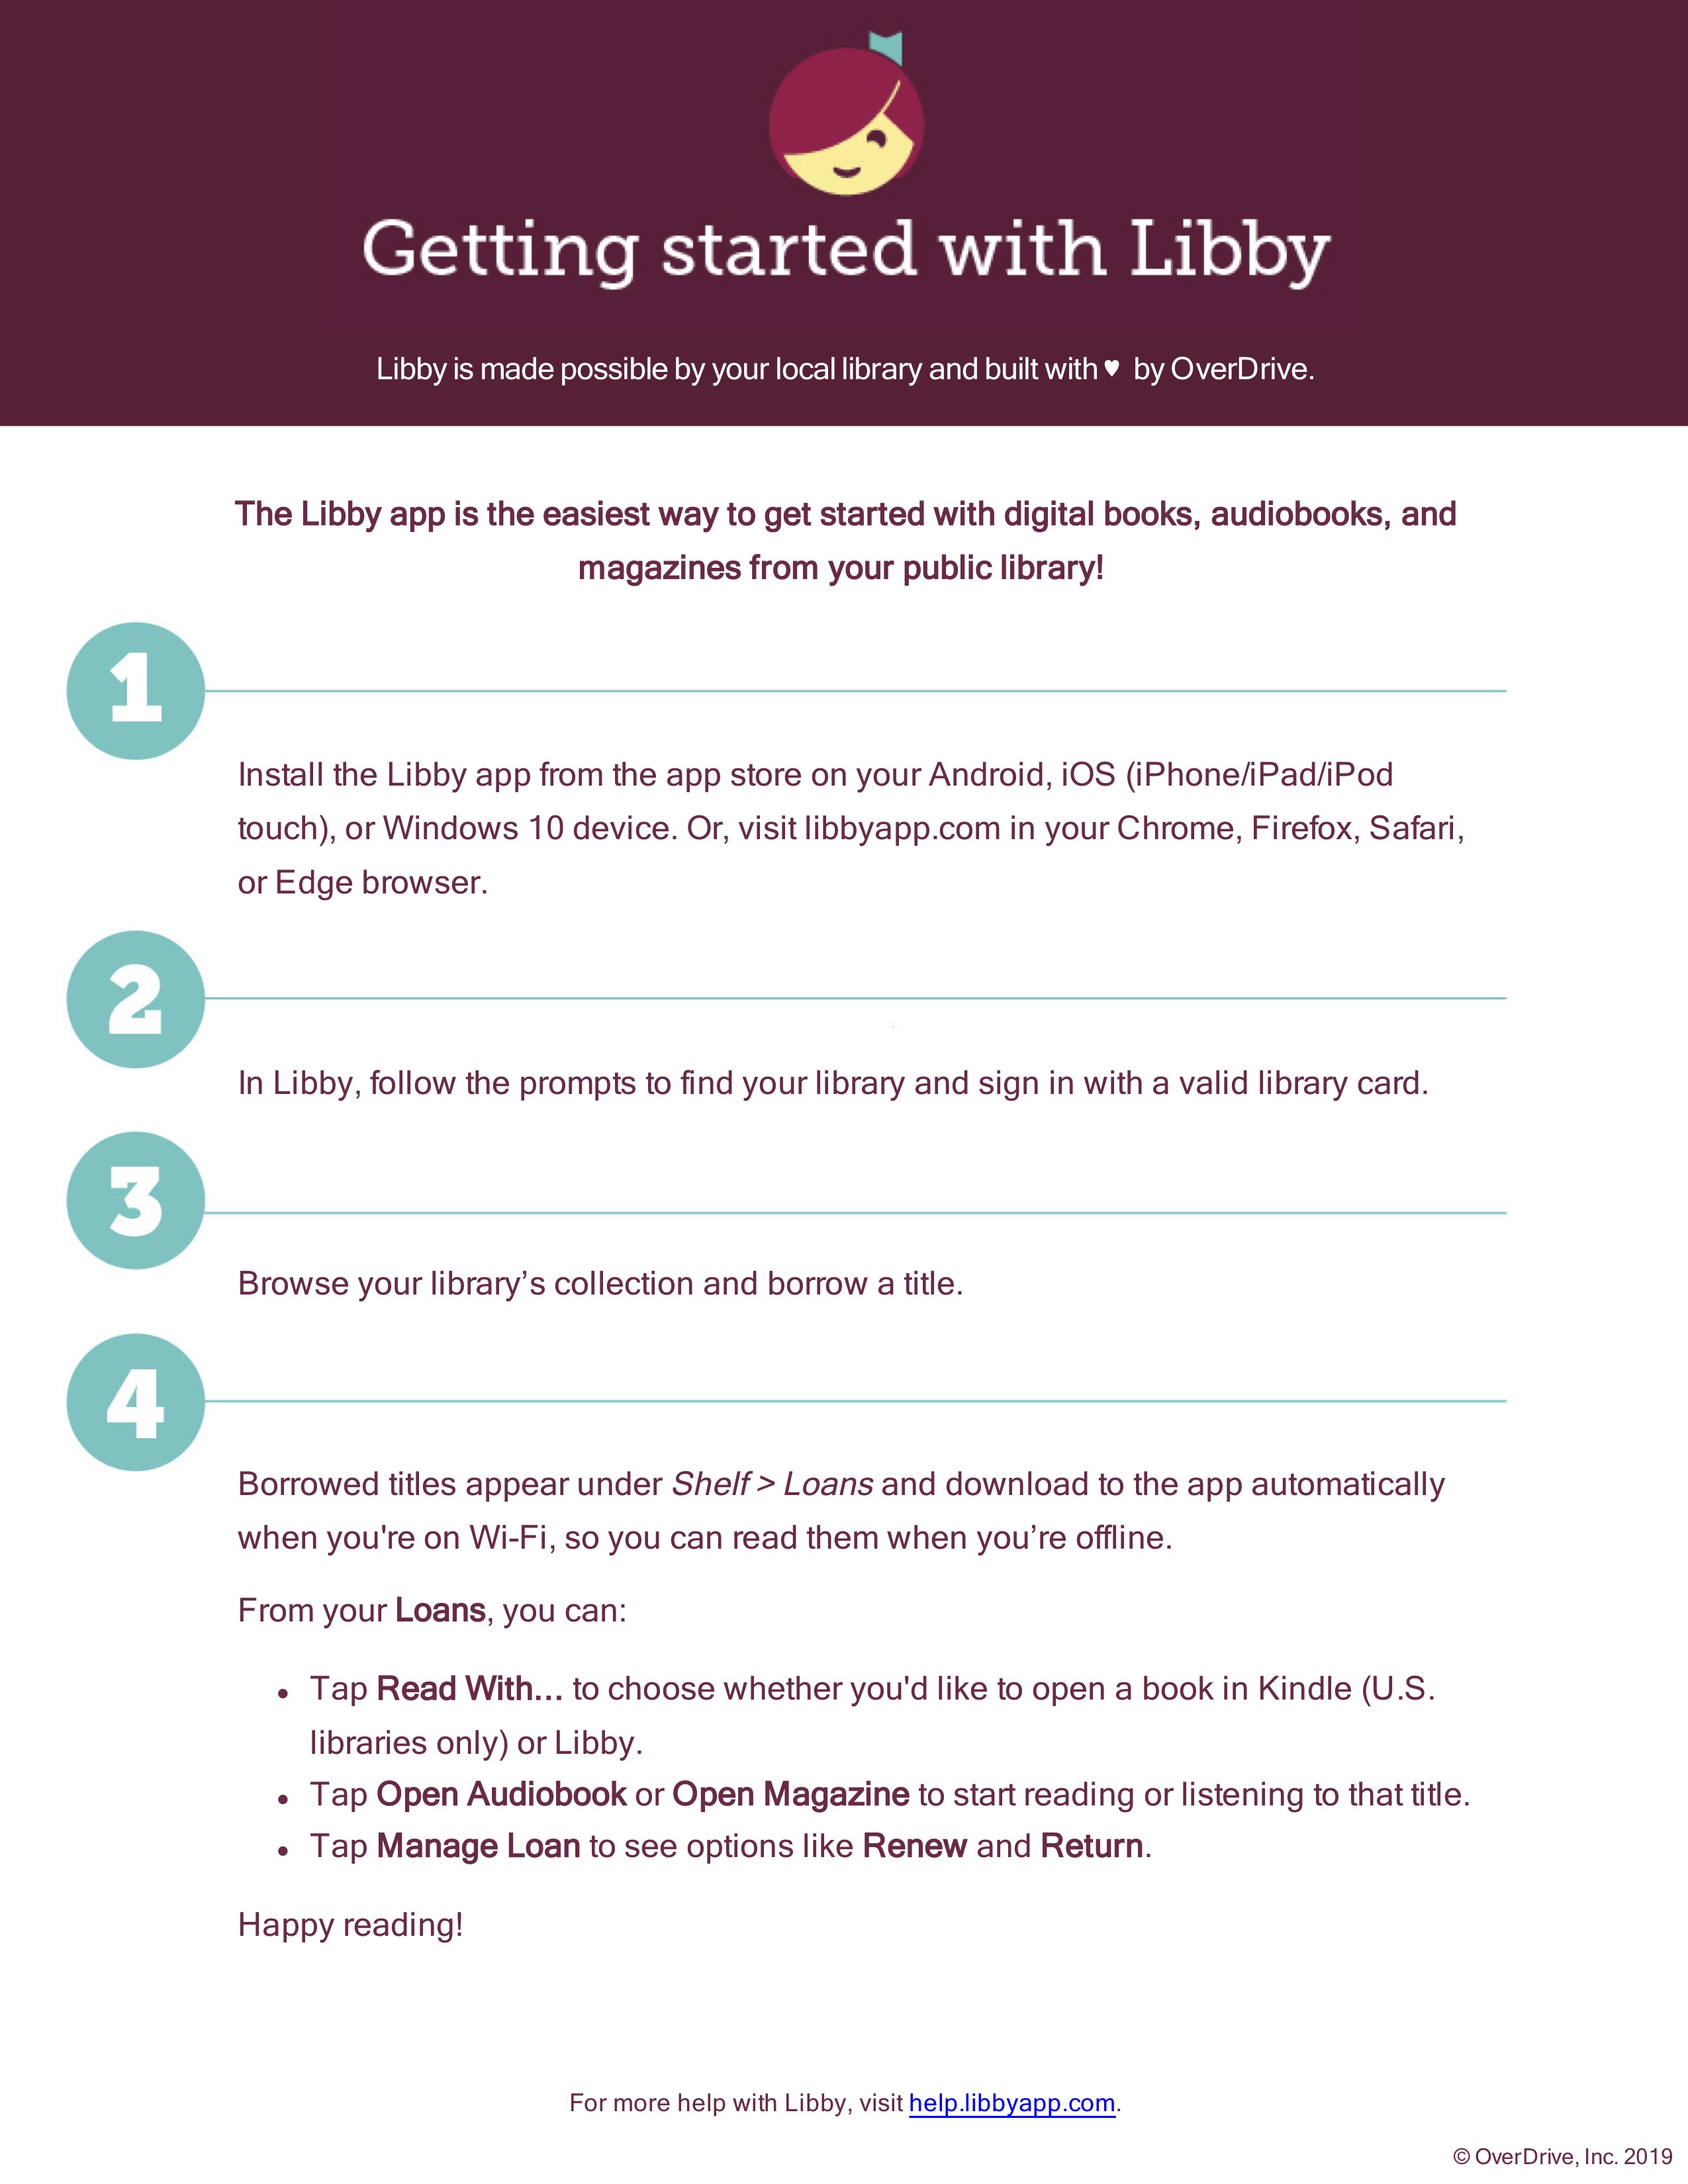
Use the following resources to help your library and users with the Libby app.
For library staff:
- Bookmark this Resource Center page for helpful FAQs and staff training materials.
For users:
- In-app messaging will link users to this overview page for more information, FAQs, and helpful video tutorials.
- How-to videos on Libby Help walk users through how to use the app.
- Beginning in August, your users can sign up for virtual training sessions hosted by team OverDrive.
click to open pdf poster to print
What is CharityEZ and how to use it
Marquette University has partnered with a new public charity, CharityEZ, Inc., to develop a new database for finding funding information. This new online funding search portal, called CharityEZ, not only includes the same up-to-date information that you were accustomed to in the Foundations in Wisconsin service, it also offers simple access to a vast pool of federal data on philanthropies and philanthropists in Wisconsin and across the US.
As long as the library only allows users to access the database on-site at the library and does not give users the sign-in and password, then CharityEZ will remain free for libraries starting in 2024 and beyond.
To set up access to CharitzEZ at your library:
-
- Each library should create one account per location at www.charityez.org
- After they do so, they will receive an email from CharityEZ requesting that they provide documentation that they are a nonprofit organization
- The library will then upload their tax-exempt certificate (or comparable document) to their account on charityez.org per the directions in the email
- CharityEZ will then approve the account and notify the library of approval via email
- Once their account is approved, libraries can create a “read only” account for their patrons. Please follow the directions below to do so:
- Click the “Users” icon
- Select “Add User”
- Name the user “Public” or “Library Users” or something similar
- Assign that user “read only” permission level


